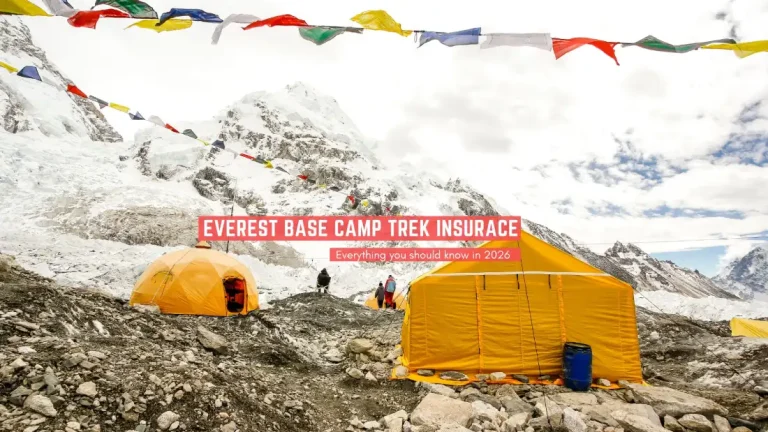
The Everest Base Camp Trek is one of the world’s most popular and adventurous trekking destinations. It offers a once-in-a-lifetime experience for trekkers from around the globe. Standing at an elevation of 5,364 meters, reaching Everest Base Camp is a rewarding achievement for both first-time hikers and experienced trekkers. The journey is not only about reaching the destination but also about enjoying the peaceful surroundings, exploring Sherpa culture, and experiencing the beauty of the Himalayas.
From the flight to Lukla to the final approach to Everest Base Camp, every day brings new scenery, challenges, and memorable experiences. Trekkers can choose from different routes and durations, including the traditional Everest Base Camp Trek, which usually takes around 12–14 days, or shorter alternatives for those with limited time. Your chosen route and pace will determine the overall itinerary.
Quick Facts
- Region: Khumbu, Solukhumbu District, Nepal
- Trip Duration: 12–14 days
- Best Months: March–May and September–November
- Max Elevation: 5,545 meters (Kala Patthar)
- Difficulty Level: Moderate to Challenging
- Starting Point: Lukla
- Key Attractions: Everest Base Camp, Kala Patthar, Namche Bazaar, Tengboche Monastery, and traditional Sherpa villages
Ultimate EBC Itinerary for U.S. Trekkers
Detailed Everest Base Camp Itinerary (14 Days)
Day 1: Arrival in Kathmandu (1,400 m)
Arrive at Tribhuvan International Airport, complete customs formalities, collect your luggage, and transfer to your hotel in Thamel. Spend the day resting after your journey and preparing for the trek. If you are trekking independently, you can also arrange your permits and essential gear. In the evening, enjoy a traditional Nepali meal and explore the lively streets of Thamel.
Day 2: Kathmandu to Lukla Flight and Trek to Phakding (2,652 m)
Take an early morning flight to Lukla, which takes around 35–40 minutes. After landing, begin trekking through pine forests and along the Dudh Koshi River. Meet your guide or porter if required and walk through small mountain villages and across suspension bridges before reaching Phakding.
Trek time: 3–4 hours.
Day 3: Phakding to Namche Bazaar (3,440 m)
Enter Sagarmatha National Park at Monjo and complete the required permit checks. Continue along the Dudh Koshi River and cross several suspension bridges before beginning the steep climb toward Namche Bazaar. If the weather is clear, you may get your first views of Mount Everest along the way. After arriving in Namche, explore its shops, cafés, and bakeries.
Trek time: 6–7 hours.
Day 4: Acclimatization Day in Namche Bazaar
Spend the day acclimatizing to the increasing altitude. A popular option is a hike to the Everest View Hotel (3,962 m), which offers panoramic views of Everest and surrounding peaks. You can also visit Khumjung Village, see the Hillary School, or explore the Sherpa culture of the area. Another option is a hike toward Thame Village, known for its connection to famous Sherpa climbers.
Trek time: 4–5 hours.
Day 5: Namche Bazaar to Tengboche (3,860 m)
Follow a scenic trail along the hillside with impressive views of the Himalayan peaks. Descend toward Phunki Tenga beside the Dudh Koshi River before climbing through beautiful rhododendron forests to Tengboche. Visit Tengboche Monastery and, if possible, attend a prayer ceremony. The views of Ama Dablam from Tengboche are especially impressive around sunset.
Trek time: 5–6 hours.
Day 6: Tengboche to Dingboche (4,410 m)
Descend through forests toward Debuche, cross the Imja River, and continue toward Pangboche, one of the region’s historic Sherpa settlements. The trail then follows the Imja Valley toward Dingboche, where the landscape becomes more open and alpine. Enjoy impressive views of Ama Dablam and the surrounding peaks.
Trek time: 5–6 hours.
Day 7: Acclimatization Day in Dingboche
Take another acclimatization day to help your body adjust to the altitude. You can hike toward Nangkartshang Peak for panoramic mountain views or take a shorter walk toward Chhukung Village. Depending on weather and fitness, you may see Island Peak, Lhotse, Makalu, and other surrounding peaks. Return to Dingboche for an overnight stay.
Trek time: 4–5 hours.
Day 8: Dingboche to Lobuche (4,940 m)
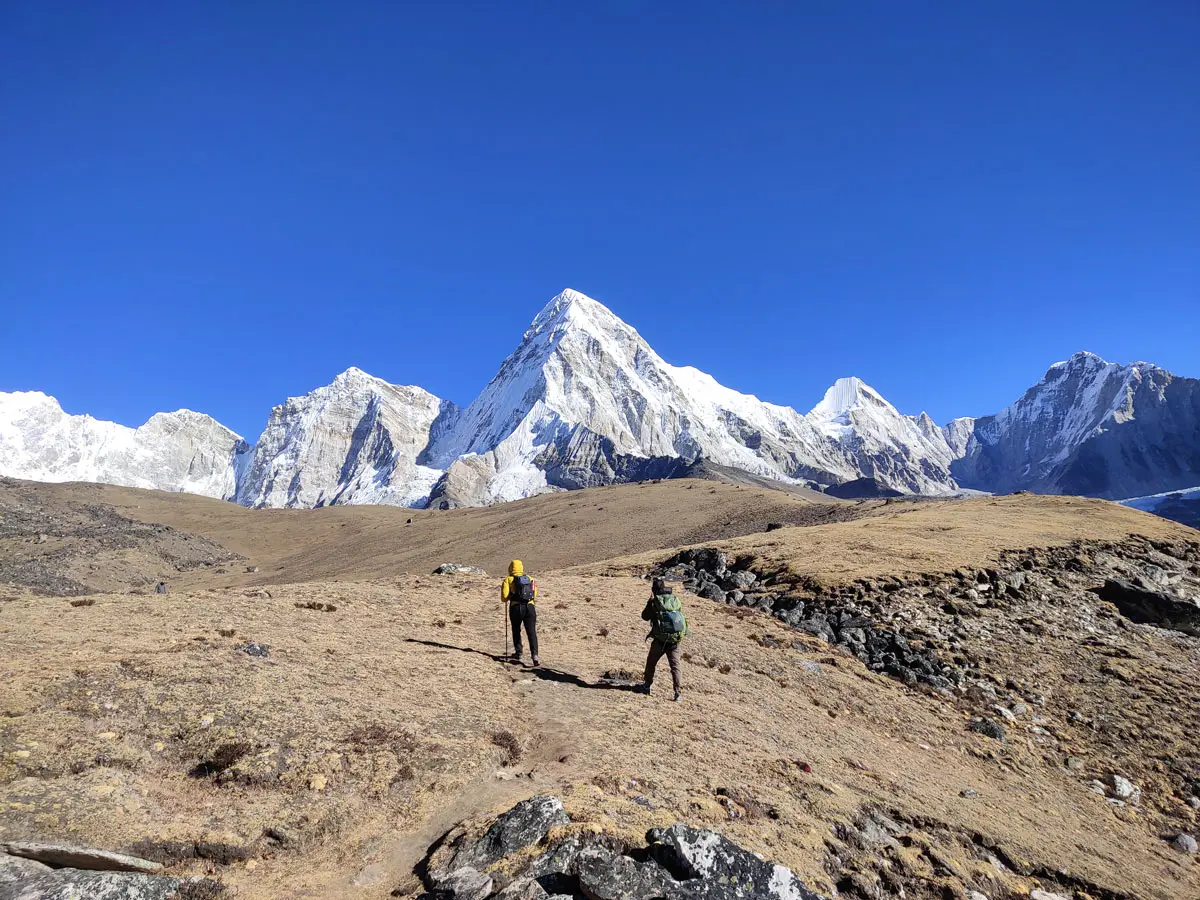
Continue toward Lobuche through an increasingly rugged alpine landscape. The trail passes along the terminal moraine of the Khumbu Glacier, where vegetation becomes sparse. Stop at the memorial area dedicated to climbers who lost their lives in the Everest region. Continue toward Lobuche while enjoying views of Pumori and Nuptse.
Trek time: 5–6 hours.
Day 9: Lobuche to Gorak Shep and Everest Base Camp (5,364 m)
This is one of the most exciting and demanding days of the trek. Walk from Lobuche to Gorak Shep and leave your belongings at the teahouse before continuing toward Everest Base Camp. The trail crosses rocky and uneven terrain along the Khumbu Glacier. After spending time at Everest Base Camp, return to Gorak Shep for the night.
Combined trek time: 7–8 hours.
Day 10: Kala Patthar (5,545 m) and Descent to Pheriche (4,371 m)
Start early in the morning, usually around 4 a.m., for the climb to Kala Patthar. The viewpoint provides some of the best panoramic views of Mount Everest, Nuptse, and Changtse. After watching the sunrise, descend to Gorak Shep for breakfast and continue downhill to Pheriche, where the lower altitude provides more comfortable conditions.
Total trek time: 8–9 hours.
Day 11: Pheriche to Namche Bazaar
Retrace the trail through Pangboche, Tengboche, and Phunki Tenga before continuing toward Namche Bazaar. The lower altitude makes the trail feel easier compared with the previous days. Once in Namche, enjoy a warm shower, relax at a teahouse, or spend some time exploring the town.
Trek time: 6–7 hours.
Day 12: Namche Bazaar to Lukla
Complete the final trekking day by descending through familiar villages and forests toward Lukla. Although the descent is easier on the lungs, the long downhill sections can be tiring on the knees, so walk carefully. After reaching Lukla, celebrate the completion of your Everest Base Camp adventure with your guide and trekking group.
Trek time: 6–7 hours.
Day 13: Lukla to Kathmandu
Take an early morning flight from Lukla to Kathmandu, subject to weather and flight conditions. After arriving in Kathmandu, check into your hotel and enjoy a well-deserved rest. You can spend the afternoon exploring Thamel, shopping for souvenirs, or enjoying a variety of local and international cuisines.
Day 14: Kathmandu Departure or Additional Exploration Day
If your international flight is scheduled for today, use the morning to visit cultural attractions such as Swayambhunath, Pashupatinath Temple, Boudhanath Stupa, or Kathmandu Durbar Square, depending on your available time. Plan to reach Tribhuvan International Airport at least three hours before your international departure.
Alternative Short Itinerary Options
Besides the standard 14-day Everest Base Camp itinerary, shorter trekking options are available for travelers with limited time:
- 10-Day Everest Base Camp Trek: This itinerary reduces acclimatization time at Namche Bazaar and Dingboche. It is more physically demanding and is better suited to experienced trekkers.
- Everest Base Camp Trek with Helicopter Return: Trekkers hike to Everest Base Camp and return by helicopter from Kala Patthar to Lukla or Kathmandu. This option saves several trekking days and is suitable for travelers with limited time.
For first-time trekkers, the traditional 14-day Everest Base Camp trek is generally recommended because it provides more time for acclimatization. Experienced trekkers may prefer shorter itineraries.
Everest Base Camp Trek: A Journey to the Roof of the World
The Everest Base Camp Trek is one of Nepal’s most iconic trekking routes. It attracts thousands of adventure seekers who dream of walking in the footsteps of legendary mountaineers. The trek offers an exciting high-altitude adventure along with an authentic experience of Sherpa and Tibetan-influenced culture.
Along the trail, trekkers pass through traditional Sherpa villages, see colorful prayer flags, cross suspension bridges, and follow glacial rivers beneath some of the world’s highest mountains.
The trek is especially appealing to travelers from the United States because it does not require technical climbing skills. With good physical fitness, mental preparation, proper acclimatization, and suitable trekking gear, many travelers can successfully complete the journey. The well-established trail and teahouse system also make the trek more accessible and comfortable.
Trek Insights
How to Reach the Location
Most U.S. travelers begin their Everest Base Camp adventure by flying to Tribhuvan International Airport in Kathmandu. International flights commonly connect through major hubs such as Doha, Dubai, or Delhi. Travel time can vary depending on the departure city and connections.
From Kathmandu, trekkers usually take a flight to Lukla, the main gateway to the Everest region. The flight to Tenzing-Hillary Airport takes around 30–40 minutes and offers spectacular Himalayan views. However, flights can be delayed or canceled because of changing mountain weather, so travelers should keep extra buffer days in their itinerary.
Helicopter flights to Lukla are another option for travelers who want greater flexibility, although they are considerably more expensive than regular flights.
Transportation Options
International Flights: Major airlines such as Qatar Airways, Emirates, Turkish Airlines, and Air India provide international connections to Kathmandu. Booking flights early is recommended during the main trekking seasons.
Kathmandu to Lukla: Small aircraft operated by Nepali airlines connect Kathmandu or, during busy seasons, Ramechhap with Lukla. Flight schedules can change because of weather and airport conditions.
Alternative Route: When Lukla flights are delayed or unavailable, trekkers can travel by road to Salleri or Phaplu and begin the trek from there. This route adds several extra trekking days but provides an alternative way to reach the Everest region.
Within the Trek: There are no regular roads connecting the main trekking settlements in the upper Khumbu region. Porters, yaks, and trekkers transport supplies and equipment along the trail.
Accommodation
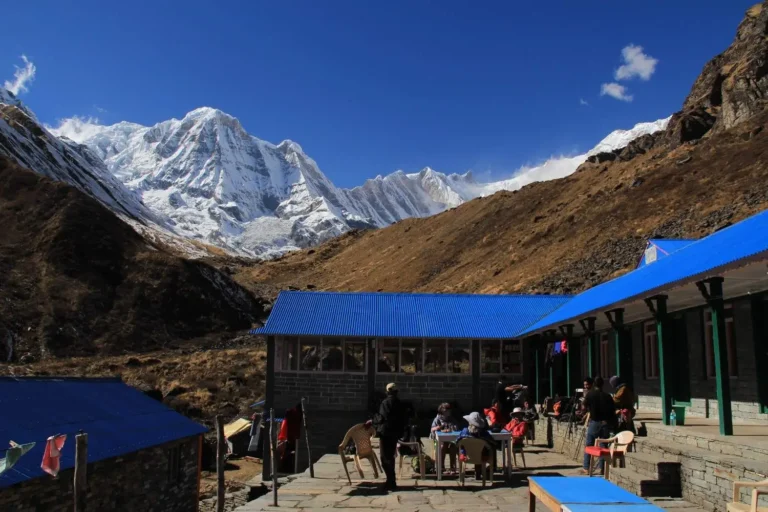
Camping is generally unnecessary on the Everest Base Camp Trek because teahouses and guesthouses are available throughout the main route. These family-run accommodations provide basic rooms, usually with twin beds and shared bathrooms.
Lower-altitude villages such as Namche Bazaar offer relatively comfortable teahouses, some with attached bathrooms and hot showers for an additional fee. As you gain altitude, accommodation becomes simpler and more expensive. At Gorak Shep, expect basic rooms or dormitory-style accommodation with limited facilities.
Wi-Fi and Charging: Many teahouses provide Wi-Fi and charging facilities for an additional fee. Prices generally increase at higher elevations. Carrying a power bank can help reduce charging costs and keep your devices available for navigation and communication.
Food: Teahouses serve a variety of meals, including traditional dal bhat, pasta, pizza, fried rice, noodles, soups, and pancakes. Food choices become more limited as you approach Everest Base Camp, but meals remain focused on providing trekkers with enough energy for the demanding trail.
Packing Essentials
Packing for the Everest Base Camp Trek requires careful planning because your luggage needs to remain manageable. If you hire a porter, the usual duffel bag limit is around 15 kg, so focus on essential items and avoid unnecessary weight.
Trekking Supplies: Waterproof trekking boots, thermal base layers, trekking pants, an insulated jacket, gloves, a warm beanie, sunglasses, gaiters, and a rain cover are essential for changing Himalayan weather.
Health & Safety: Carry basic first-aid supplies, sunscreen, water purification tablets, and a reusable water bottle. If you use altitude-sickness medication such as Diamox, consult a qualified medical professional before your trek.
Paperwork: Keep your passport, travel insurance documents, trekking permits, and relevant flight tickets safely accessible throughout the journey.
Add-ons: A power bank, energy snacks, trekking poles, wet wipes, and other personal hygiene items can make the trek more comfortable, especially when hot showers are limited at higher elevations.
Estimated Costs (Packages)
The cost of the Everest Base Camp Trek varies depending on whether you travel independently or choose a guided package. Your accommodation, transportation, guide, porter, permits, and additional services can significantly affect the total cost.
- Independent Trekkers: Around USD 1,200–1,500, depending on accommodation, meals, permits, transportation, and personal expenses.
- Mid-Range Packages: Around USD 2,000–3,000, generally including a guide, porter, teahouse accommodation, meals, permits, and transportation.
- Full-Service Packages: Around USD 3,500–5,500, with experienced guides, comfortable accommodation, comprehensive logistics, and optional helicopter return services.
Permits
Trekkers heading to Everest Base Camp need the required permits for the Everest region. Guided trekking companies generally arrange the permits as part of the package, while independent trekkers can obtain them during their journey.
- Sagarmatha National Park Entry Permit: Required for entering Sagarmatha National Park and available through the relevant permit offices or entry point.
- Khumbu Pasang Lhamu Rural Municipality Permit: Required for trekking through the Khumbu region and generally obtained in Lukla or through the designated local authority.
Permit requirements and fees can change, so travelers should verify the latest regulations before starting the trek.
When applying for permits, carry your passport and sufficient Nepalese rupees for the applicable fees. Trekking agencies can also assist with the permit process to make the preparation easier.
Travel Experience
Scenery & Nature
The Everest Base Camp trail offers a remarkable variety of Himalayan scenery. The journey begins through pine and rhododendron forests before gradually entering the high-altitude alpine landscape. Along the way, you’ll cross glacial rivers and suspension bridges while enjoying views of spectacular peaks such as Ama Dablam, Lhotse, Nuptse, and Mount Everest.
One of the most memorable experiences is watching sunrise from Kala Patthar (5,545 m). As the first sunlight reaches the surrounding Himalayan peaks, the landscape takes on a spectacular golden glow.
Culture & Local Life
The Everest Base Camp Trek is also an opportunity to experience the unique culture and traditions of the Sherpa people. Villages such as Namche Bazaar provide a glimpse into everyday life in the Khumbu region, with local markets, bakeries, teahouses, and trekking shops.
At Tengboche Monastery, trekkers can experience the spiritual atmosphere of the region and observe Buddhist traditions surrounded by spectacular mountain scenery. Along the trail, interacting respectfully with local people, sharing tea, and learning about their traditions can make the journey even more meaningful.
Spiritual & Historical Sites
Although the Everest Base Camp Trek is mainly known for its spectacular mountain scenery, it also offers a meaningful cultural and spiritual experience. Monasteries such as Tengboche Monastery and Pangboche Monastery preserve centuries-old Buddhist traditions.
Along the trail, you’ll encounter mani walls, stupas, prayer wheels, and colorful prayer flags. These cultural landmarks add a peaceful and reflective atmosphere to the trekking experience.
Trekking Challenges
The Everest Base Camp Trek does not require technical climbing skills, but it is physically demanding because of the high altitude. As you travel above 3,000 meters, the risk of altitude-related illness increases. Proper acclimatization, particularly at Namche Bazaar and Dingboche, is therefore essential.
Weather in the Himalayas can change quickly. Mornings are often cold, while strong winds, snow, and freezing temperatures may occur at higher elevations. Trekkers should also prepare for steep ascents, rocky trails, and long walking days of around 5–7 hours.
Tips and Recommendations
- Train Early: Begin preparing 2–3 months before the trek with hiking, cardio, and strength exercises to improve endurance.
- Take Acclimatization Days: Do not skip acclimatization days. They give your body time to adjust to the increasing altitude.
- Stay Hydrated: Drink plenty of fluids throughout the day and carry a reusable water bottle. Adequate hydration supports your body during high-altitude trekking.
- Get Travel Insurance: Choose travel insurance that covers high-altitude trekking and emergency evacuation.
- Slow Travel, Live More: The Everest Base Camp Trek is about more than reaching the destination. Take time to enjoy the mountains, villages, culture, and experiences along the trail.
FAQs
1. Am I Required to Have Prior Experience in Trekking?
No. Previous high-altitude trekking experience is not essential, although regular hiking experience can be helpful. Beginners can complete the Everest Base Camp Trek with good physical preparation, proper acclimatization, and a suitable pace. Starting your hiking and cardio training several months before the trek can help build endurance.
2. For U.S. Travelers: What Is the Recommended Season to Hike?
The main trekking seasons are spring (March to May) and autumn (late September to November). Autumn generally offers clear mountain views and stable weather, while spring brings warmer conditions and blooming rhododendrons. Travelers planning around Thanksgiving should still check current weather and trail conditions before departure.
3. Is the Everest Base Camp Trek Difficult?
The trek is challenging but achievable for people with good fitness and preparation. The biggest difficulty is altitude rather than technical climbing. Trekkers should be comfortable walking for around 5–7 hours on several days and should allow enough time for acclimatization.
4. Is My Health Insurance in the U.S. Valid in Nepal?
Many standard U.S. health insurance policies have limited or no coverage for international medical treatment or high-altitude trekking. Before traveling, check your policy carefully and consider separate travel insurance that covers trekking at high elevations, emergency medical treatment, and helicopter evacuation.
5. Can I Trek Without a Guide or Porter?
Trekking arrangements and guide requirements can change under Nepal’s current regulations, so travelers should verify the latest rules before departure. A guide can provide valuable support with navigation, local culture, accommodation, communication, and altitude-related safety. A porter can also carry your main luggage and make the trek more comfortable.
6. What If I Experience Altitude Sickness?
Mild altitude-related symptoms can include headache, fatigue, dizziness, nausea, or loss of appetite. Do not ignore worsening symptoms. Rest, inform your guide or trekking companions, and follow appropriate medical advice. If symptoms become serious, descending to a lower elevation is an important part of emergency management. Consult a medical professional before using altitude-sickness medication such as Diamox.
7. What Are the Bathroom Conditions on the Trail?
Bathroom facilities vary along the route. Lower-altitude teahouses may have Western-style or squat toilets, while higher settlements generally have more basic facilities, often with shared toilets outside the rooms. Carry toilet paper, hand sanitizer, and a headlamp for nighttime use.
8. Is It Possible to Charge My Devices During the Trek?
Yes. Many teahouses provide charging facilities for an additional fee, although availability can become more limited and expensive at higher elevations. Carrying a power bank is recommended so you have a backup source of power for your phone, camera, and other essential devices.
9. Is Wi-Fi Available on the Trek?
Wi-Fi is available at many teahouses along the Everest Base Camp route, but the connection can become slower and less reliable at higher elevations. Mobile network coverage also varies by location. Download offline maps, important documents, and entertainment before starting the trek.
10. How Should I Manage Drinking Water?
Avoid drinking untreated water from streams or natural sources. You can use water purification tablets, a suitable water filter, or boiled water from teahouses. Bottled water is also available but becomes more expensive at higher elevations and creates additional plastic waste. Carry a reusable bottle and drink regularly throughout the day.
11. How Much Cash Should I Bring?
Carry enough Nepalese rupees for meals, snacks, charging, Wi-Fi, hot showers, tips, and other personal expenses. ATM access becomes more limited as you travel deeper into the Everest region, so it is wise to withdraw sufficient cash in Kathmandu or Namche Bazaar before heading toward higher elevations. Keep some small-denomination notes for everyday purchases.
12. What About Laundry and Showers?
Most teahouses offer hot showers for $3–$5, but they become less common above 3,000 meters. Many trekkers skip showers beyond Dingboche because of the cold. Bring wet wipes for personal hygiene. Laundry services are available in lower villages, but clothes may take longer to dry in cold weather.
13. Is It Possible to Rent Trekking Gear in Kathmandu?
Yes, Thamel has several rental shops offering sleeping bags, down jackets, and trekking poles for around $1–$3 per day. Renting can save money on items you may not use again. However, it is best to bring your own well-tested trekking boots and comfortable base layers.
14. How Can I Prevent Blisters During the Trek?
Wear moisture-wicking socks and properly fitted trekking boots to reduce friction. Apply anti-chafe balm or protective tape to areas that usually develop hot spots. Treat any irritation early and carry basic blister-care supplies in your first-aid kit.
15. What Happens If I Need to Exit the Trek Early?
If you need to leave the trek because of a medical emergency, helicopter evacuation may be available, depending on weather and location. Proper travel insurance should cover eligible emergency evacuation costs. For non-emergency exits, you may need to walk back or arrange private transportation at your own expense. Always keep a few buffer days in your itinerary for weather delays or unexpected changes.